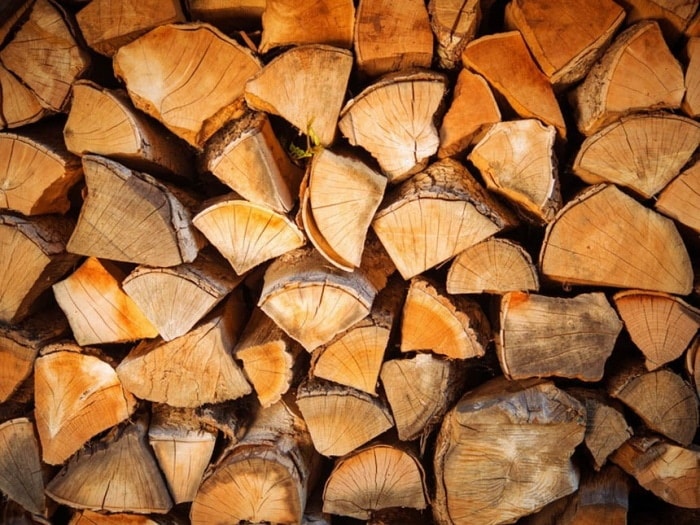
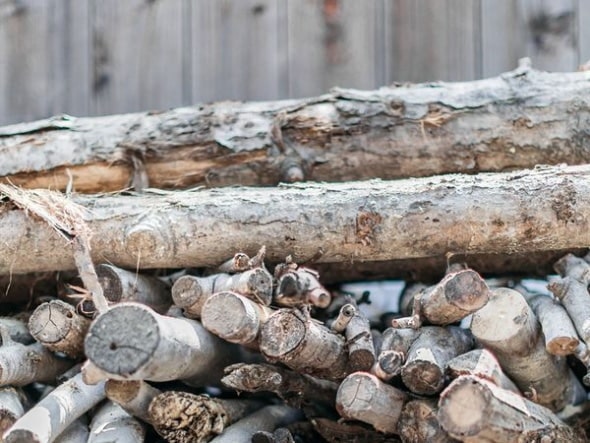
People usually use wood slices for various functions, including carpentry, wood carving, and even burning.
If you do it right, drying the wood is gratifying; thus, take time to understand how to dry wood without splitting.
Wood can shrink, splinter, or fracture when moisture escapes from it. Stabilizing and sealant solutions, which must be applied before drying, are essential for preventing splits, fractures, and warps. Otherwise, the salt paste is also another good-to-go option.
This article will provide you with detailed instructions on two actionable methods to handle this task easily at home. Let’s check it out!
How To Dry Wood Without Splitting: 2 Effective Solutions
The most brilliant way to do it is to dry the wood is to use the appropriate stabilizing, sealant, or salt paste solutions.
You can rely on the instructions in this video to better understand how to dry wood without cracking.
1. Use stabilizing or sealant solution
Step 1: Choose the suitable container
Place the wood in a suitable container, but avoid fiberglass, plastic, or stainless steel. Because metal and other elements might cause discoloration, make sure its container is constructed of environmentally safe materials.
Also, you have to clean the container carefully to remove any chemical particles or dirt that might harm the appearance of the wood.
Step 2: Put the wood in the suitable container
In the bottom of your container, place a few wood slices. Notice that these slices of wood are well-organized, with similar-sized pieces grouped. To keep your wood from moving too much while in the container, use tiny blocks to support them.
Step 3: Remember to put on your rubber gloves

Before you begin opening the stabilizing solutions, seek protective rubber gloves. If you wish to open and apply the sealants and treatments without spilling them, you’ll need well-fitting ones.
You may not want the skin to be exposed to chemicals, so double-check the gloves to ensure there are no holes.
Step 4: Stabilizing solution
Distinct wood sealants are designed for newly cut wood, while others are intended for partially cured wood. If it is still fresh, soak the wood in a stabilizer, and a sealer is ideal for new or dried wood. Avoid cracks and splits in your timber by using a wood stabilizing or sealant solution.
Step 5: Seal the container
Cover the container with plastic wrap once you’ve added the solution. This prevents the solution from escaping and guarantees that the wood absorbs enough of it.
You don’t have to immerse the wood completely; as long as the majority of it is covered, you are good to go.
Step 6: Soak your wood for a day
Soak it for 24 hours without being disturbed. It is the most effective method for ensuring that the solution penetrates the timber and is uniformly dispersed. After that, remove and set the wood to dry.
Allow the solution to dry for seven days, but keep in mind that the thicker ones will dry slower than the thinner ones. If the timber is wet when you touch it, give it some time to dry.
2. Use the salt paste
Step 1: Combine salt paste and water
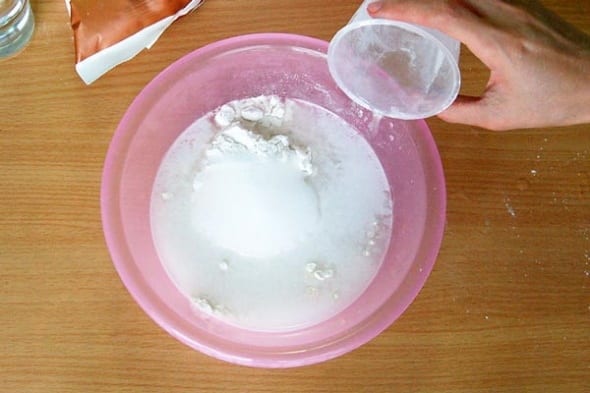
Fill a container halfway with water, then add the salt. Stir till it is fully combined. The ideal quantity of water and salt depends on the type of your wood.
Step 2: Leave the solution
Allow four hours for the solution to rest before adding starch to make the paste. If the combination gets too hard from too much starch, add a little water.
Step 3: Use some eggs
Add three egg whites to the combination and stir thoroughly. Notice that the egg whites are completely absorbed into the material so that the timber does not develop flakes after applying the solution, which may be seen on dry wood.
Step 4: Apply the paste to the wood
Apply the paste to the wood using a clean brush. To build a layer on the wood surface, make sure all the strokes are smooth.
It would be best if you covered every area of the wood, including its sides. After a few, the salt paste will solidify to the point that it is difficult to remove.
Step 5: Store the wood in a warm area
This step appears to dry once the wood is completely coated because the paste absorbs moisture, preventing the wood from shrinking, splitting, or cracking.
After seven days, check it, but keep in mind that thick slices may take a few weeks to dry.
Frequently Asked Questions
How to check if the wood is dry?
Radio checking:
A careful examination of the wood’s body will reveal whether it has been adequately dried. Look for fractures running from the sapwood to the heartwood.
Optical inspection should be done when air drying and utilizing other techniques to avoid over-drying, leading to splitting and cracking.
Check the color:
The wood’s color might indicate if it has been adequately dried. As wood ages, its color darkens and fades, turning from white to gray.
Colors vary per species, but it is easy to determine green wood that is colored.
Read more: How To Keep Green Wood From Splitting?
Check the bark:
As the wood dries out, the bark begins to split from it and eventually separates. If it is still connected to the wood, pull it off with a razor blade.
If the cambium is still green, it hasn’t been properly seasoned. Next, examine the bark for indications of overdrying.
Read more: How To Remove Bark From A Tree?
Make sure the sound is well-seasoned:
Combine two slices of wood using a hammer. Dry wood has a hollow sound, but wet wood has a dull tone. Check this regularly to make sure the wood isn’t too dry and won’t split.
Check for the weight:
Seasoned wood weighs less than the green one since moisture has been eliminated. Check for symptoms of splitting and over-drying as soon as the wood begins to weigh less.
Get a handy digital thermometer to make it easier to keep track of the moisture levels in your wood.
These are simple to operate, primarily electronic, and may be used on any wood. If you deal with wood or have a lot of wood projects, this is an excellent purchase.
Read more: How To Dry Wood In A Microwave Oven?
What are the impacts of water on wood?
The Red Cross urges caution since the water might include germs and other harmful pollutants, in addition to making things unclean.
Whether or not the water is collecting on the wood, it supplies food for rot, fungus, and mold, and the colonies may have progressed if the wetness has been around for an extended period.
The most straightforward approach to eliminate the colonies is to dry the wood, but remember to avoid breathing the air till that occurs. Put on a mask.
Are there other methods to keep the wood from splitting?
Letting the wood dry as a board:
Given that there’ll be no fractures or splits, it is the most creative idea you can think of. The method is cutting the wood into boards as soon as possible and allowing them to dry naturally, decreasing the likelihood of wood warping.
Using oil:
Teak or linseed oil is ideal in preventing the wood from splitting or breaking. Apply linseed oil after the wood boards have been prepared and the tree stumps’ barks have been scraped away.
Teak oil is for other situations by soaking the logs and then drying them. On the other hand, Teak oil takes longer to dry, allowing the wood more time to dry.
How to deal with molds from wet wood?

Mold will develop on any damp wood, and mold removal is an essential element. Bear in mind that any mold infestation larger than 10 square feet requires expert cleaning, according to the Environmental Protection Agency.
Professionals have the required tools and knowledge, and they may also assist with the drying process.
The suggested method for localized fungus problems is to scrape the mildew off with water and detergent manually.
You do not need to bleach it since its high surface tension keeps it from entering the wood and destroying the roots. However, if you wish, you can add bleach at one unit per ten units of water.
Applying borate wood solution powder is a better approach to clean wood and avoid mold growth.
This method is beneficial for damp wall plates and studs. Before installing the drywall and insulation, generously coat the dry wood with borate powder.
Conclusion
Contents of moisture evaporating out of the wood can cause it to shrink, and climatic conditions can cause it to contract, resulting in splits.
However, the procedures mentioned above have shown to be effective throughout time, so follow the basic instructions on how to dry wood without splitting, and your wood would be as new.
Sealants, stabilizers, and salt paste are simple; however, protective gloves are recommended for aluminum paint and stabilizers. You will be safe from health risks as a result of this.