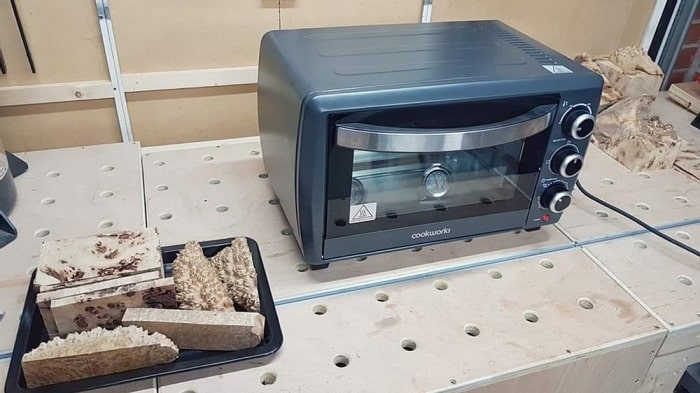
Drying wood in the microwave may seem dangerous to people knowing about this technique for the first time.
Still, it is a quick and convenient way to dehydrate wood in a few minutes instead of waiting for days or months, providing you understand the technique and follow the instruction carefully.
Hence, whether you want to dry firewood or prepare lumber for your next project, the microwave oven would help.
So, let’s explore how to dry wood in a microwave oven and valuable tips to get the best microwave drying wood.
How To Dry Wood In A Microwave Oven (Detailed Instructions)
To dry wood in a microwave oven, cut wood to a proper size and set the microwave to the lowest power or “defrost” mode.
Then, put the wood into the microwave cavity with some paper towels underneath and start heating. After one minute, takes out to check the drying state and continue heating if necessary.
The microwave oven heats things due to electromagnetic radiation. Its short length electromagnetic waves go deeply into the object, to the molecule level, and vibrate the molecules.
As vibration increases, it generates heat and removes moisture, resulting in dried stuff.
Hence, instead of waiting for a long time for the wood to air dry, you can get it done in a matter of minutes.
You can dry almost all kinds of wood in this way. Of course, the method would go with some risks, but they will be listed below.
Things to prepare
- The microwave oven
- Paper towels
- Oven mitts
- Digital scale (optional)
Step-by-step instruction
Step 1: Prepare the microwave oven
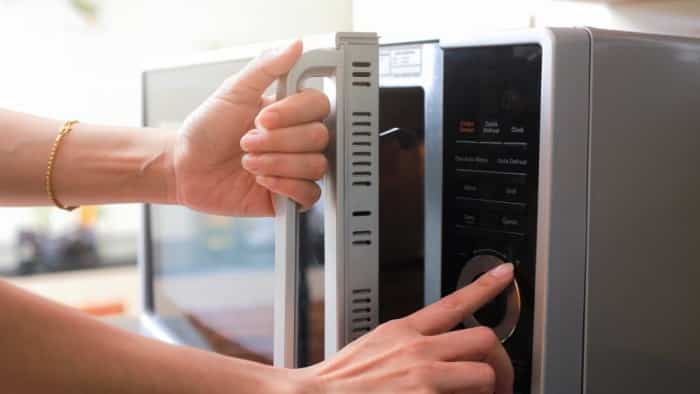
Set the microwave to the lowest power level for drying wood in the microwave, typically the “defrost” mode in most machines. Or set it to function at 30% of its maximum power.
Lay some dry paper towels on the surface to absorb moisture getting out of the wood during the process.
Step 2: Measure the weight and moisture of the wood (optional)
Use the digital scale to get the initial weight to compare with the number after drying. If the number decreases, this means the wood has lost its water and become drier.
Still, if you don’t have a scale at hand, you can determine the drying state by looking at the amount of condensation under the wood after each time.
Step 3: Place the wood in the microwave oven
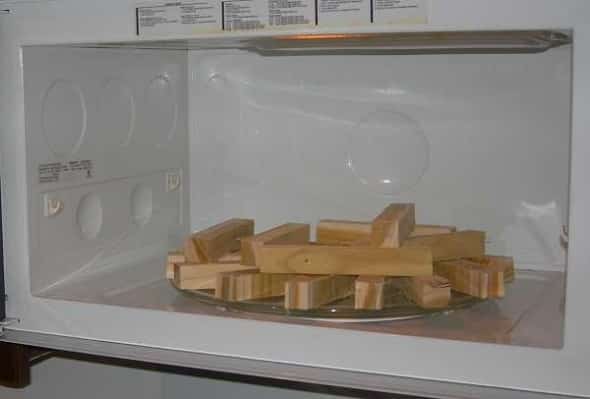
Put the wood into the cavity of the microwave, ensure:
- All the pieces are at the same level of humidity. If you’re not sure, use an electric moisture meter to measure their humidity.
- Greenwood and regular ones are not going together.
- All the pieces fit with the cavity space and don’t over stuff. Otherwise, they won’t dry equally.
Step 4: Start drying
It’s time to start the microwave drying wood process. First, turn on the microwave and dry in 30 to 60 seconds, depending on the initial moisture and the amount of wood.
Notes: Remember to dry at the “defrost” mode, as mentioned earlier. If you use higher temperatures, the wood can smolder from the inside that can’t be noticed physically.
Also, sometimes the burn generates smoke at the end of the piece but can be mixed up with the moisture. Anyway, the burn is almost invisible.
Step 5: Check the drying state for the first time
Put on the oven mitts (or any thick work gloves) and take all the wooden pieces out. Let them in an average temperature of about 30 seconds to release the steam.
Then, there we have two ways to check the drying process as below.
Use the digital scale to measure the weight:
- Weigh the wood and compare this with the initial number. If there is a drop in weight, water was partly removed from the wood.
- Repeat drying the wood in the microwave for 45 to 60 seconds each section until you notice a minimal weight change depending on the amount of the wood, for example, under 0.1 gram.
Check the condensation underneath the pieces:
- Flip the wood over to check the amount of moisture underneath. As the bottom parts didn’t access the air, they couldn’t release steam during the drying process. Hence, the steam condensed in the bottom layer.
- Repeat drying wood in the microwave until you notice a small amount of moisture left in the bottom parts.
Notes: Flip the workpieces upside down for each drying session to get the best result. You can still flip them at half of each session to increase drying effectiveness and reduce the number of rounds, but this is not recommended as it may risk you burning.
Step 6: Let the wood air dry
Place all the workpieces at an average temperature for about 30 minutes. To speed up the process, use a fan to blow them.
Bonus tip: Here is a video on drying wood bold in the microwave oven. Check it out for more visual directions.
Bonus Tips On Drying Wood In A Microwave
- If the place is not turning around in the microwave, adjust the position of the pieces to 90 degrees each time.
- Don’t try to achieve moisture-free or weight change-free states. Once the woods get too dry, they can burn from the inside or ignite from the outside.
- If you dehydrate finished products, chances are they will deform during the process. So, try with some sacrificed workpieces first to test how much it will change the shape.
- If you dry resinous wood blank, don’t forget to wrap it in a newspaper to avoid the boiling resin splashing all over the place.
- Don’t let the microwave unattended while working, and stop the process instantly if you notice smoke or any sign of burn.
Frequently Asked Questions
How much moisture should dry wood have?
Typically, the ideal wood moisture content is from 6 to 12% for woodworking. The metric will vary slightly due to the final purpose and the relative humidity of the air.
For example, wood for interior products in regions with about 40 – 50% humidity should have a moisture level of about 8 to 9%.
The moisture content of wood should be equalized with the humidity of the environment. This is also why we don’t recommend you eliminate water entirely in the previous section.
Because when you let over-dried wood in the air, it will absorb moisture to equalize its moisture content to the environment.
What happens if you do woodworking with fresh wood that hasn’t been dried?
Shape distortion: It tends to warp and crack as it dries out, then shrinks in all dimensions. For example, using high-moisture wooden pieces to make up the floor will shrink and leave spaces in between.
Read more: How To Stop A Crack In Wood From Spreading?
Also, they may warp and break the structure, causing the risk of hurting our leg.
Tools harming: Once you try to put greenwood through a planer, a sander, or a saw, its wet dust or shavings can accumulate in the machines. It then leads to blockage or the development of rust on metal parts.
Read more: How To Keep Green Wood From Splitting?
Tearing up: Wet wood comes with soft wooden fibers, which can easily tear during the cutting process. Also, it tends to get tear up while sanding instead of becoming flat and smooth in most cases.
Adhesive Problems: Wood with high moisture content is hard to glue since water can dilute the glue solution unless you use a specialized product.
At first, the moisture in the wood will lower the glue curing process. Then the shrinkage can break the glued joints when the wood dries out.
What happens if you do woodworking with over-dried wood?
Shape distortion: As mentioned earlier, wood with lower moisture than the environment will absorb steam over time and swell in size, resulting in crowning and buckling in wood projects and shape distortion in normal cases.
Tools harming: As dried wood is firm and brittle, it requires more effort to deal with. Hence, cutting or craving over-dried wood causes more dull edges and chipped grain than wood with proper moisture content.
Cracking: The drier the wood, the higher chance of cracking when receiving force from the nailing, cutting, or carving. The more brittle, the higher the chance of splitting and cracking while working.
Adhesive Problems: Since over-dried lumber tends to absorb adhesive solution quickly, it requires constant assembling and firm pressure to be glued. Otherwise, the glue joint will get weak or starved.
Read more: How To Dry Wood Without Splitting or Cracking?
Conclusion
By the end of the article, you must have gained essential information on how to dry wood in a microwave oven and understand why you shouldn’t use either under-dried or over-dried lumber for your work.
Again, don’t forget to follow the instructions and the notes carefully unless you want to risk your wood, microwave, and home.
We hope our típ and advice can clear your queries and help you feel more confident in drying wood in the microwave.


