Understandably, several beginner gardeners don’t know how to adjust a carburetor on a weed eater.
A gasoline engine such as a chainsaw or a weed eater usually consists of a carburetor to ensure appropriate combustion.
Adjusting a carburetor is easier than you think. This article will show you how to do it on your own.
What is a weedeater carburetor?
A carburetor plays an essential role in maintaining efficient combustion by mixing gas and air for four-stroke and two-stroke engines.
This device allows air and gas to interact, creates an explosion, and burns the mixture within the engine’s cyclinder.
Why You Need carburetor adjustment?
The carburetor sucks the air inside through a suction pipe called venturi. While the air is coming in, gasoline is released via a spray nozzle, leading to combustion that creates power.
Once you press the engine’s throttle, fuel is supplied to the combustion section of the carburetor. The throttle’s position determines how much fuel it supplies to the engine.
When you accelerate this part, it sends more gas and air to the combustion section.
The carburetor’s placement/position tends to deviate over time. If this situation happens, the weed eater will face a lack of fuel, so we have to prevent it from happening by adjusting the carburetor.
There are two items you need to complete this task, including a socket opener and a screwdriver. The next part of this article will clarify the detailed procedure of how to adjust a carburetor.
How to Adjust a Carburetor on a Weed Eater
Before adjusting the carburetor on a weed eater, you must remove debris and dirt from the air filter. Use a screwdriver to open the air filter cover, then carefully clean it with a soft cloth.
You should also make sure the spark plug is still in good use. Open the cover boot with a screwdriver, then remove it with a spark plug wrench.
This step allows the adjustment process to occur without any hassle.
If your carburetor’s trimmer has been inactive for a while, the engine might have trouble starting due to stale or overstayed fuel. The only thing you need to do is to replace it with new fuel.
Finally, if you hear a strange noise when starting your engine, then it’s time you adjust the carburetor.
Step 1: identify the carburetor position on a weed eater
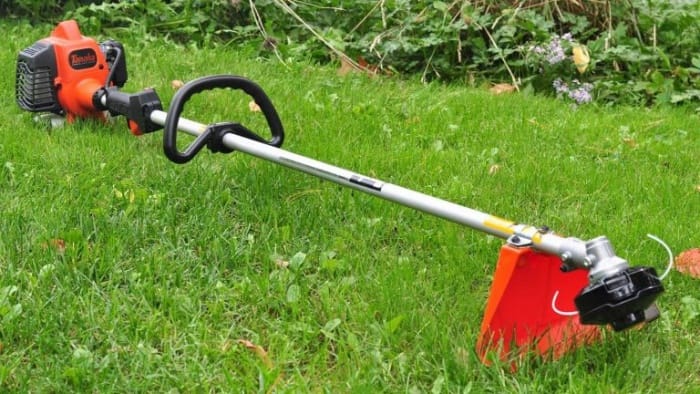
First of all, you must identify the carburetor position on a weed eater, which is usually between the fuel bulb and the air filter. Now, find the screws that control the fuel supply.

There are two fuel adjustment screws on each side of the carburetor, namely HI and LO. While HI screws administer the engine when it works at full throttle, LO screws ensure sufficient fuel regulation when it is in idle mode.
If you want to know how HI and LO screws look, look at the different types of the screw here.
Step 2: tighten the screws
In the second step, use a screwdriver and tighten the screws to place the screws towards the carburetor’s jets. The needle end of the screws enables you to align them in the correct direction.

Step 3: adjust the screws
Remember to turn your weed eater off before you continue this step.
The most important step is to adjust the screws. After adjusting the HI screw counterclockwise for about one and a half turns, turn the LO screw in the same direction for one turn.
Next, start the engine after pulling out the choke. It may produce a rough sound because of the newly tightened screws, so don’t worry. You might need to accelerate the throttle to keep the engine running.
After a few minutes, your engine will be warm enough, which is a perfect state for adjustments.
Step 4: While the engine is running, start turning the LO screw counterclockwise
This is the final adjustment stage. While the engine is running, you can start turning the LO screw counterclockwise to see whether it’s still running smoothly without dying or stalling.

Make sure the running speed is average, which means not too fast and not too slow.
Next, set the engine to the full position by pushing the throttle.
Your engine might sputter at some point, so it’s very important to adjust the HI screw clockwise so that the weed eater releases a normal sound while running smoothly.
It is recommended that you turn the HI screw for around 1¼ turns.
However, you should read the manual instructions carefully for a better understanding as the number of turns depends on your weed eater’s capacity, brand, and size.
Step 5: finished carburetor adjusting
You’ve finished adjusting the carburetor. However, you’re suggested to keep the engine running for observation. Also, remember to bring your screwdriver along in case of minor adjustments.

At some point, the weed eater might still produce weird sounds. That’s when you have to check whether the gas is fresh or not.
Even though you’ve just adjusted the carburetor, bad gas still results in poor operation.
Poor gas quality usually results from it being kept during the winter or when water slips in from the outside.
It’s easy to solve this problem by refilling new fuel after removing the old gas from the tank.
There can be minor engine problems with your trimmer as well, so you had better check the carburetor to see if there is any dirt or holes in the valves.
After cleaning this part up, your carburetor will be ready to get back to work.
Once the weed eater runs smoothly and releases normal sounds, you can start putting it to use again.
Read more: Husqvarna Weed Eater Won’t Stay Running: How To Fix?
Conclusion
Adjusting a carburetor on a weed eater is a simple procedure that you can do by yourself if you follow the instructions in this article thoroughly.
Nevertheless, if you are not confident or comfortable carrying out this process, you might consider calling a professional technician to help you.