Confused on how to square a board smoothly?
You’re in luck! Squaring a stock is integral to many woodworking activities.
I can recall vividly how I underestimated the importance of squaring the stock and paid dearly for that oversight.
The surface of the unprepared stock began to split within a few months.
While squaring a board might appear basic, it’s not exactly straightforward.
You need to learn the ropes and this piece is aimed at assisting you to do just that.
Your table saw can serve immensely in ensuring the edges of a board are parallel to each other.
Without further bickering, let’s get to the nitty-gritty of this guide.
What You Need for Learning Experience?
- Table saw
- Featherboard
- Fence
- Ruler & Pencil
- Splitter
- Earmuffs
- Protective goggles
- Drill
To effectively use the table saw to square a board, you will need to be diligent and highly alert.
While woodwork experts might personalize some of the steps in squaring the board using the table saw, it’s still the aim – ensuring the surfaces of the board are connected.
It is commonplace to have the faces of a board flattened using tools like the jointer and planer.
But none of these tools are capable of working the board’s edges like the table saw does.
Also, more innovative tools have been created to simplify the board squaring process such as the Festool Conturo Edge Bander.
While it has the appearance of a powerful tool capable of displacing the table saw in squaring the edges of a board, you might have to shell out thousands of dollars to acquire this machine.
How to Square a Board – Step by Step Instructions
To ensure you get a grip on squaring the board using the table saw, this set of instructions will guarantee you are not clutching at straws.
Just follow the steps and you’d have a perfectly squared board in no time.
- Step 1 Define your measurements
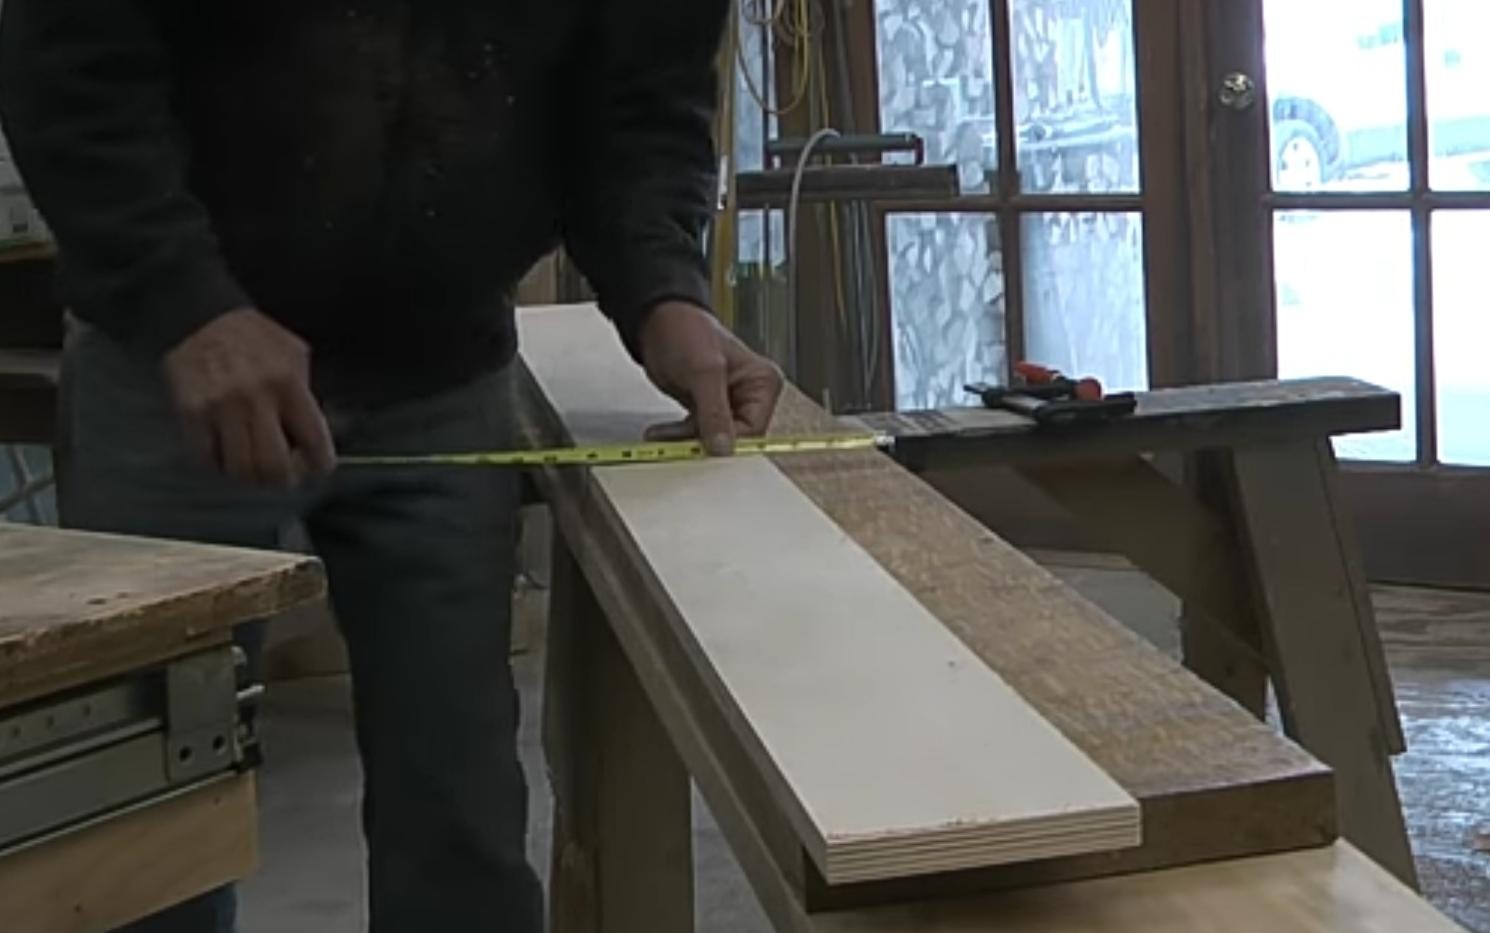
As all squares don’t the same measurement, you will have to decide the dimensions that would suit your project.
Endeavor to pay attention to this and Mark the board accordingly using your ruler and pencil.
- Step 2Use the fence to execute your desired measurement
With a table saw, you will have to call upon the fence to ensure the desired width of the board is what you get after squaring.
Place the fence such that the fraction of the board to be chopped off is on the left side of the saw’s blade.
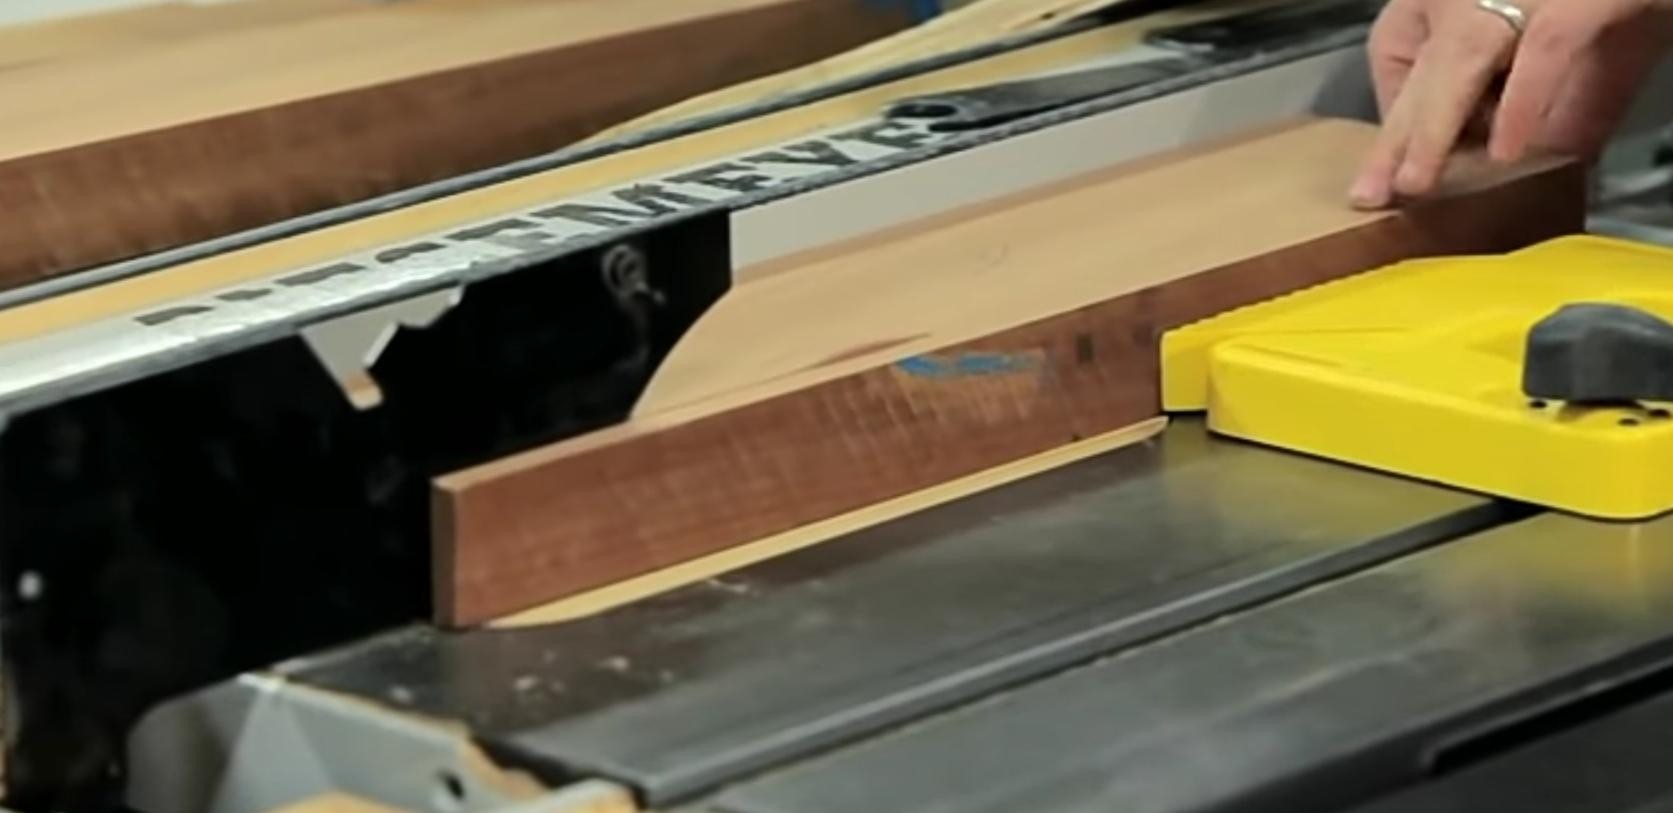
- Step 3Take advantage of the featherboard’s magnetic property
Squaring long boards doesn’t have to be a big deal. They can be kept in position throughout the squaring exercise with the input of the featherboard.
While it’s a common practice to screw the board to a flat wood and square it, using the featherboard is more economical and it saves time.
Just push the board towards the side of the fence and hinge the featherboard on its side using the magnetic property of the latter.
- Step 4Set the Splitter before the blade
As the entire length and width of the board aren’t evenly dried, things might get complicated when the wood is passed through the blade.
The splitter would guarantee the smooth splitting.
Install the splitter by attaching it to the output end of the saw’s blade using the drill.
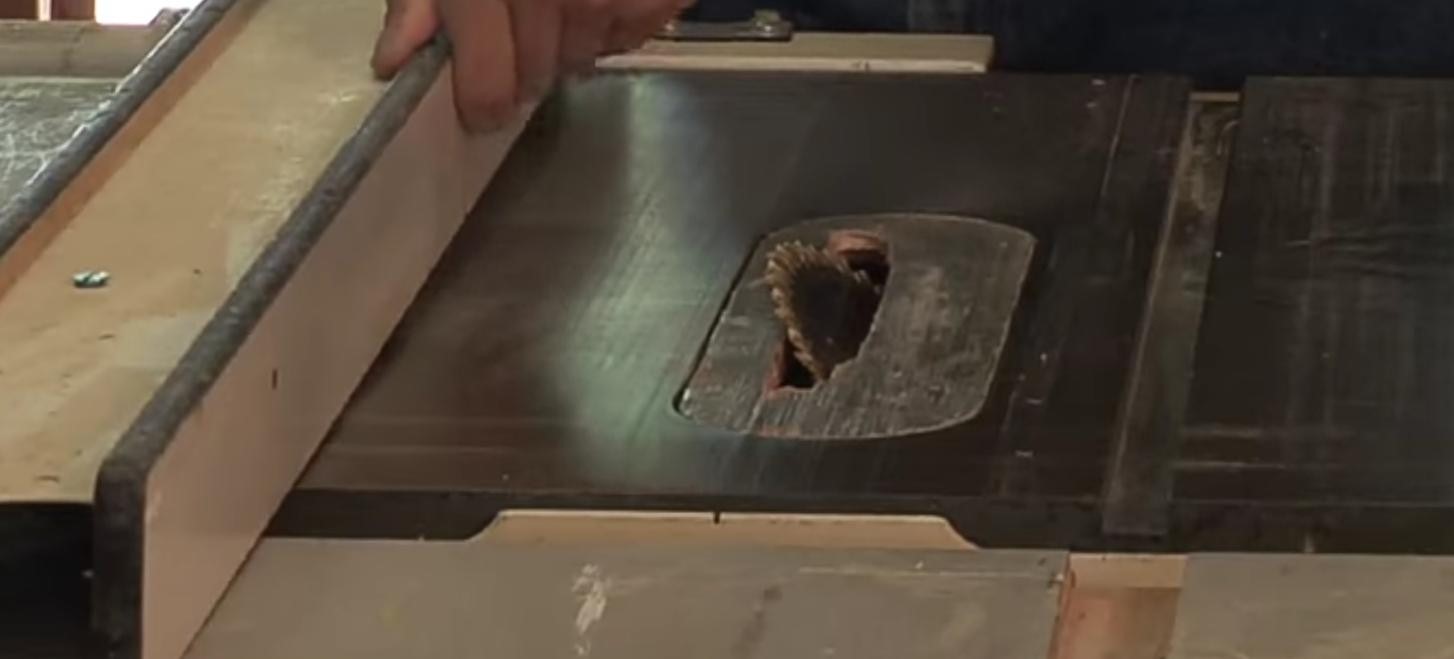
- Step 5Set the blade height
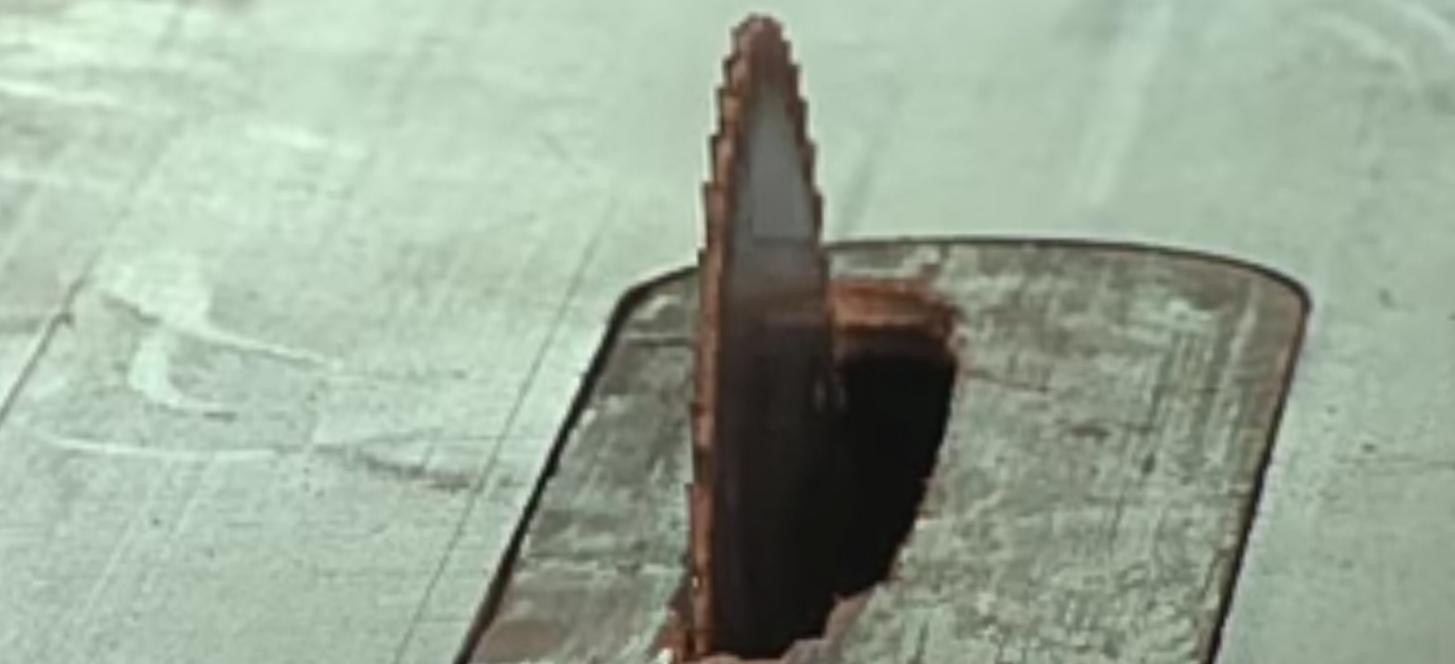
Set the height of the blade to a little above the thickness of the board.
This is guaranteed to ensure the squaring of the board and accurately too.
- Step 6Don your safety gears
Before operating the saw, you have to safeguard your senses.
Donning protective goggles will prevent wood dust from gaining entry into your eyes while earmuffs ensure your ears are immune to the noise generated by the working saw.
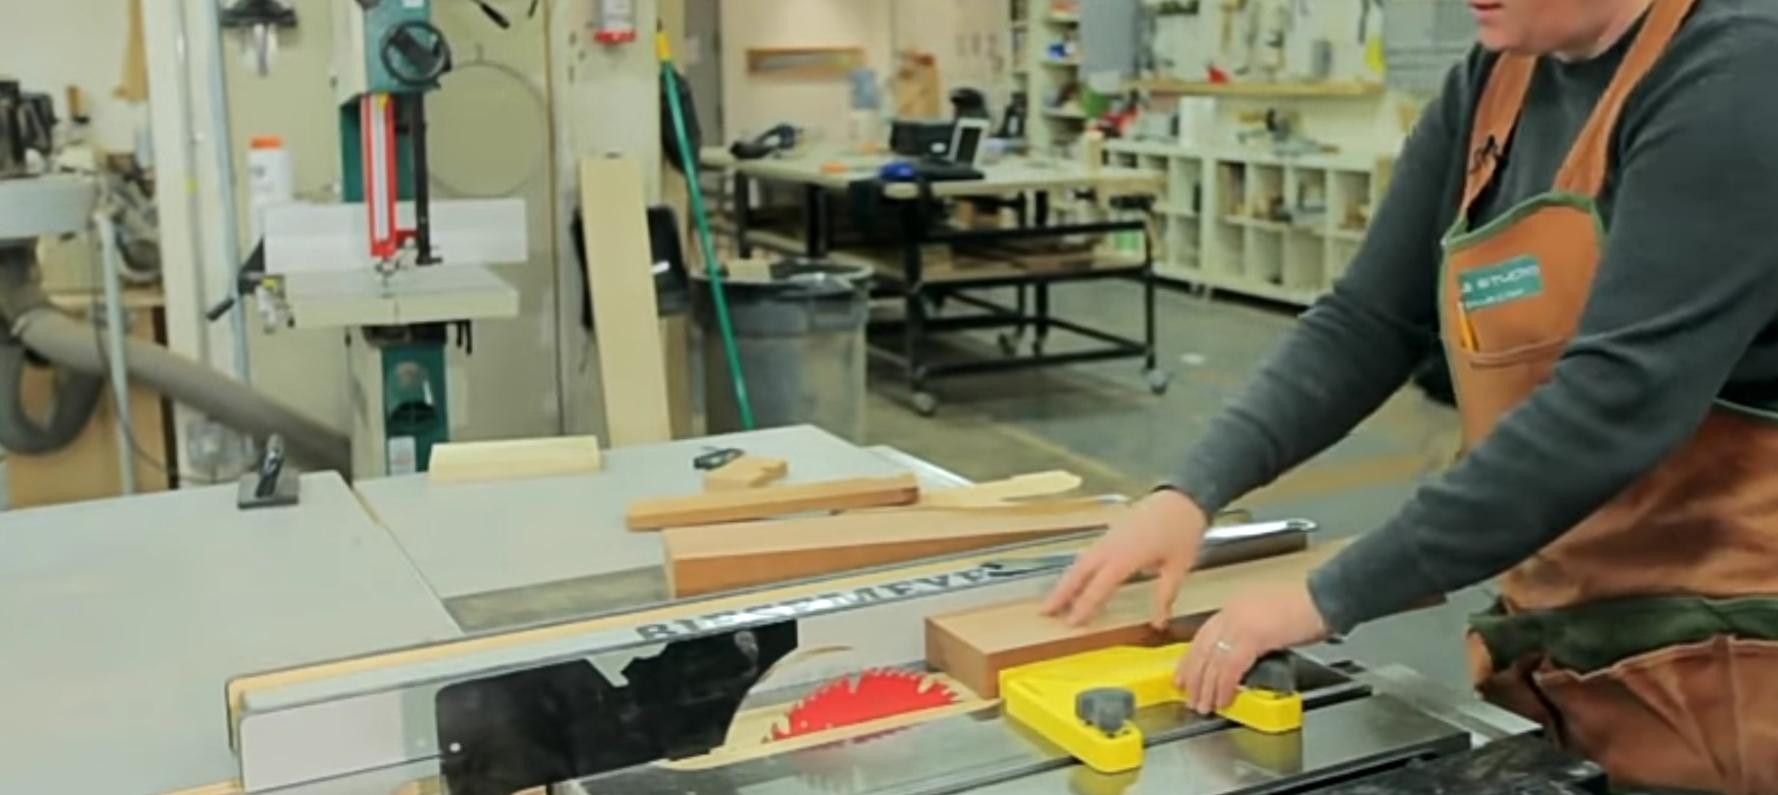
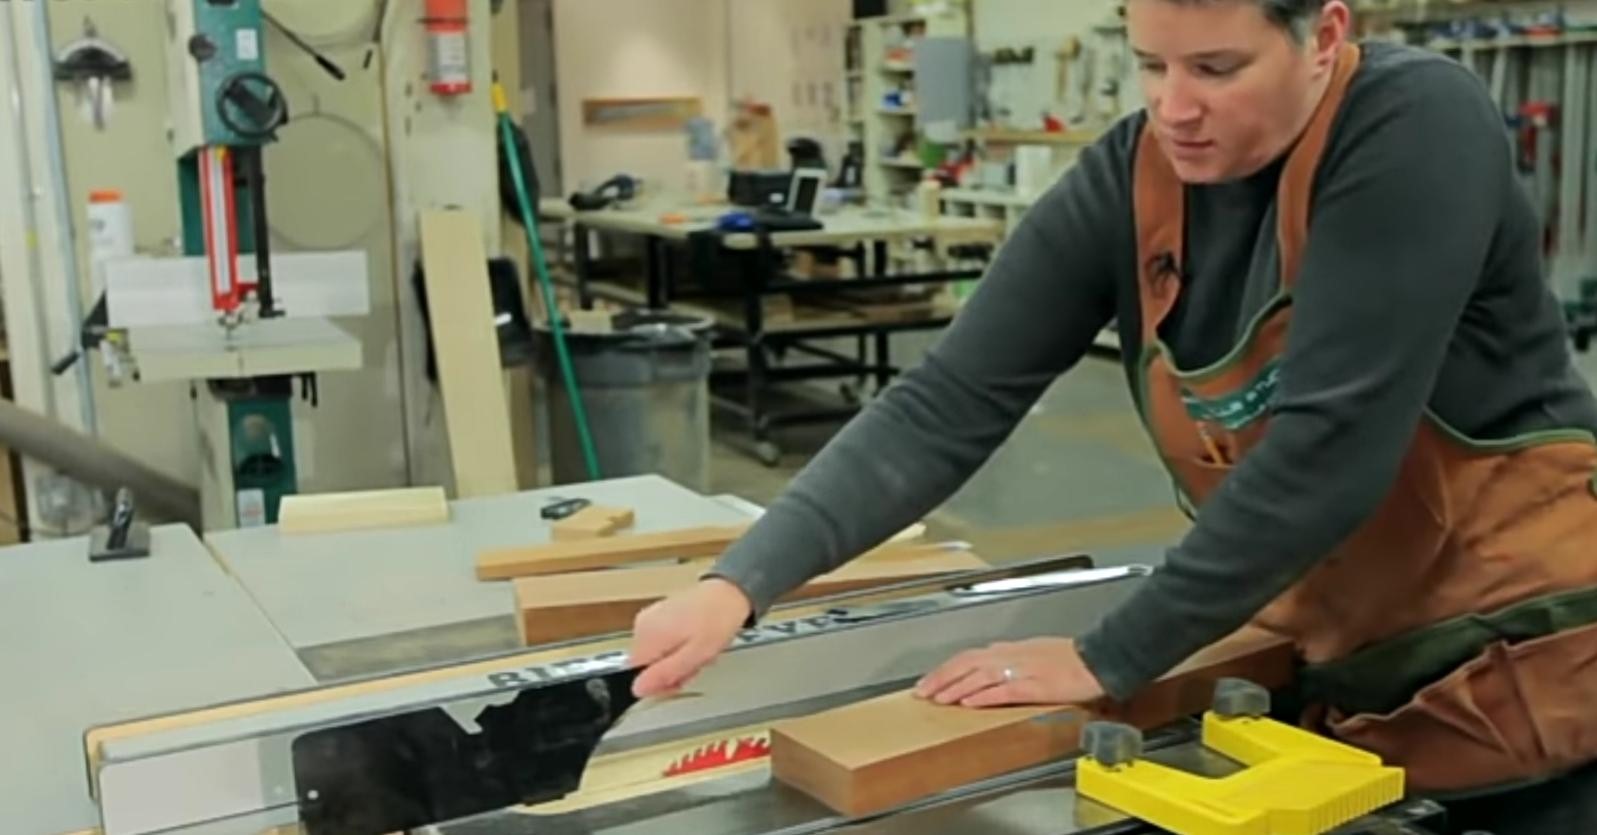
- Step 7Push it towards the working saw
Turn on the saw, and gently push the restrained board towards the blade.
Take your hand off the board as soon as it’s halfway through the blade.
You can use another wood or another item to guide it through the revolving blade.
Conclusion
We believe this tutorial helped your struggle with squaring using the table saw.
While certain tools like the planer and jointer would do wonders to achieving the squaring of the board, the table saw is unparalleled in guaranteeing its parallel edges.
It’s crucial you don’t neglect the measurement phase of the tutorial – things could go pear-shaped if you do.
Have any questions concerning the tutorial or perhaps you have something to add to what has been described?
Just drop a comment in the comment section below and we will get back to you swiftly.
If you love what we are doing, please share this article.
Read more: How to Sharpen A Table Saw Blade?