If you are new to woodwork, the chances are that you use a table saw to make accurate cuts.
But once you get that brand new table saw, how do you put it together?
Setting up a table saw is as easy as assembling the traditional cabinet saw.
The only difference is that some parts will be stored onboard the table saw and possibly hide from view.
As always, refer to the manual from your manufacturer for proper direction on usage of the saw.
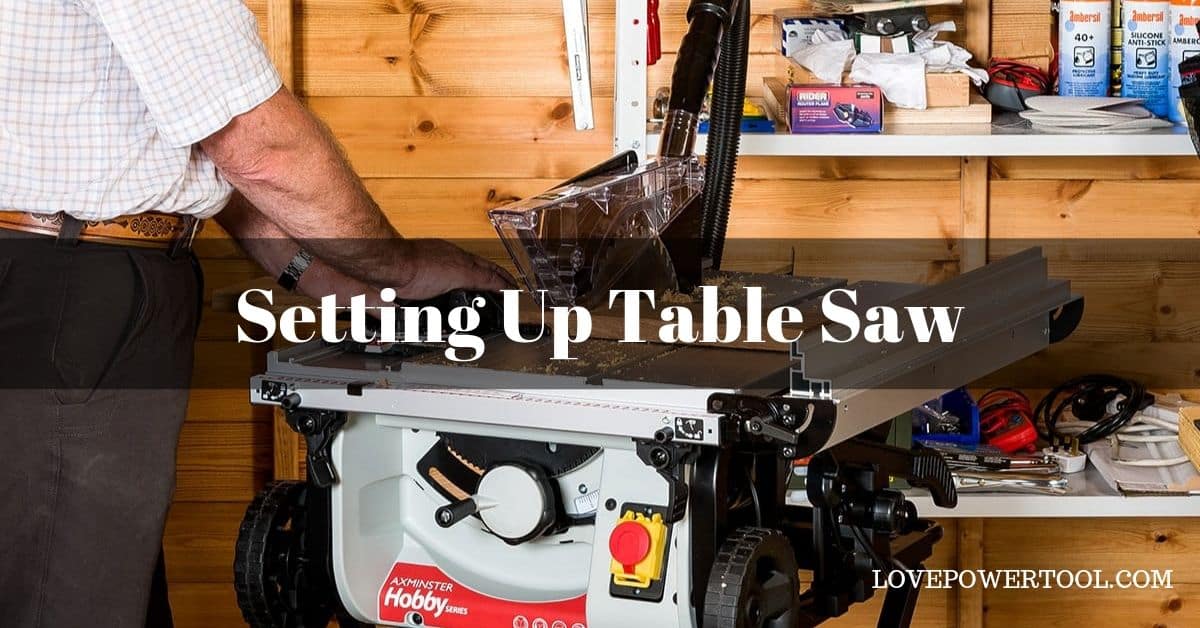
In this guide, we are going to show you the best way to set up a table saw to ensure that your wood cutting tasks go on smoothly and accurately.
Materials Required for This Task
- Blades
- Throat plate
- Riving knife
- Anti-kickback device
- Blade guard
- Blade guard
Safety measures:

Well, any tutorial is never complete without discussing a few tips on the safety precautions.
This is because a single mistake can cost your finger.
There is actually a long list of safety precautions that you should follow.
Most of these safety measures are listed on the user manual, but it is still crucial for us to mention a few important tips:
- Always wear goggles. Getting a flying wood chip on your eye can be costly in the long run
- Always ensure that your hands are behind the blade.Your fingers should not be closer to the blade by more than 3 inches.If you want to work in front of the blade, unplug the machine and wait for the blades to stop running.A push stick can come in handy for you to keep your fingers away from the blade.
- Always adjust the fence for the far end to be slightly tapered away from the saw blades.This will prevent the wood from kicking back, which can be hazardous and may damage any item behind you.Some fences automatically adjust, which is also helpful.But do not entirely rely on this feature.
- Always set up an extension table if you want to cut longer wood materials.You can also have an assistant if possible to hold the end part of the wood to avoid slipping during cutting.
Setting Up a Table Saw – Step by step instructions:
- Step 1: Secure the sawSome table saws are purchased with a saw stand attached. Others, however, need you to buy the stand separately.Regardless of the surface you have, always ensure that it is locked in place.
- Step 2: Remove the throat plateThe next step is to remove the throat place (if it is installed) and install the blade and riving knife.This is actually simple.You only need to place two fingers in the hole and release it by pushing against the tub.
- Step 3: Install the bladeYou can remove the nut that holds the blade in place with the use of a blade wrench that comes with the table saw.Then raise the blade up. Turn the nut counterclockwise and engage the arbor lock.The arbor lock is used to prevent the blade from spinning.This will loosen the nut, helping you to remove it using your hands.Then attach a blade.
- Step 4: Install the riving knifeThe riving knife is placed behind the blade. Loosen the lever to remove the riving knife and adjust it up before you install the blade guard and anti-kickback device.
- Step 5: Attach the anti-kickback deviceThis device is attached to a notch on the riving knife (behind the spot where you will place the blade guard).Make sure that the teeth point away from the saw blade.
- Step 6: Attach the blade guard assemblyThe blade guard is positioned on top of the riving knife
- Step 7: Install the throat plateIn this step, ensure that the curved end of the blade guard rests on the saw surface.The guard should not touch the blade.Then reinstall the throat plate.
- Step 8: Locate the fenceThe table saw fence is placed underneath the saw and can slide out with ease, then attach the fence.Guide the fence into tracks at the back and front of the saw.Slide it with little resistance.
- Step 9: Square up the sawFollow instructions from the manufacturer and using a framing square, square up the saw for it to cut accurately.
Conclusion
You are now set to go!
The last tip is to clean the blades.
This helps them maintain their new and shiny look.
Wood pitch always builds up on the saw blades during woodcutting, and this can easily lead to corrosion.
The lucky part is that it is always easy to clean these blades and apply a lubricant.
Read more: How To Use a Table Saw?