Inserting the quarter round is dedicated work. Some carpenters opt for a nail gun or even the compressor to complete their tasks. However, what if you don’t have any? How to install quarter round without a nail gun?
You can achieve a satisfactory result with six simple steps as follows:
- Step 1: Cut the quarter round molding
- Step 2: Place the molding against the wall
- Step 3: Hammer the finishing nail
- Step 4: Drive the nail
- Step 5: Complete the sealant
- Step 6: Hide the nail heads
The job requires some professional skills for sure, but don’t worry! You can get better after a few practices. Now, let’s read on to discover!
What Do You Need To Install Quarter Round Without A Nail Gun?
First, let’s see what you need to install the quarter round without a nail gun. Make sure you don’t miss anything in this checklist:
- A hack saw
- A hammer
- Finishing nails
- A nail set
- Latex sealant
How To Install Quarter Round Without A Nail Gun?
A nail set is a standard piece of equipment that resembles a pencil but comes from metal material.
However, hammer-shaped depression would occur if you hammered the finishing nails into the molding. You can hammer them all the way in before using the nail set to complete the job instead.
Here is what to do:
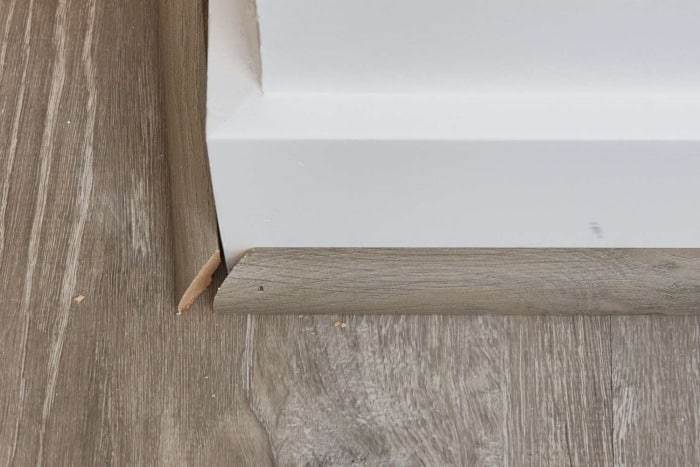
Step 1: Cut the quarter round molding
First, measure the round for it to fit the wall and the flooring.
To cut the quarter-round molding, you can employ any saw you’re familiar with. You may work with a simple hack saw because cutting by hand is relatively straightforward.
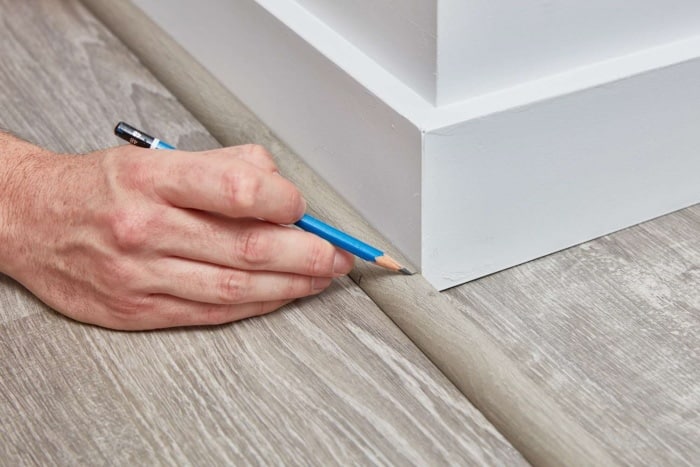
Step 2: Place the molding against the wall
It’s OK if the wall and the molding have little spaces between them. You’ll apply a sealant to cover those later. It’s advisable to focus on getting the molding to fit flat against the flooring.
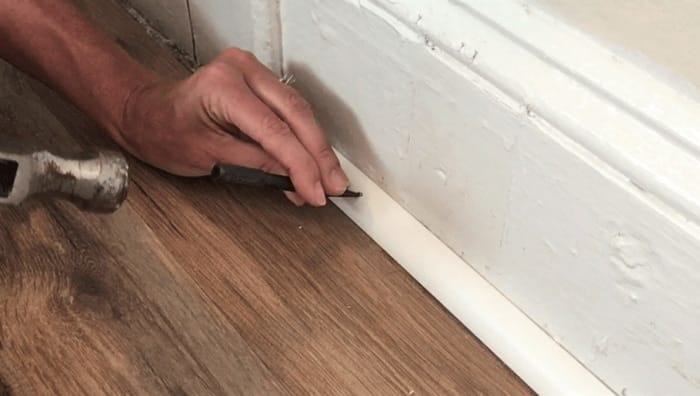
Step 3: Hammer the finishing nail
It would help if you always nailed the baseboards to the wall, not the floor. It’s easier to hammer nails in if you slant it downwards instead of straight in.
Next, hammer the nail with confidence. If you use a few solid and firm whacks instead of a dozen little strikes to push the nail in, you won’t miss and damage the baseboard. This step takes time to perfect.
When roughly 1/8 inch of the nail remains protruding from the wall, stop striking.
Step 4: Drive the nail
Align the tip and top of the nail. Nail sets are available in various sizes. You’ll want the one that’s just a little bit smaller than your nail head.
Now, drive your nail the rest of the way into the wall with the hammer on your nail set. This section will require some time to master, and you will most likely miss just a few times first.
Until you can get the hang of it, you may also want to test on a discarded sheet of plywood.
Once you’ve pushed the nail just near the ground of the baseboard, you’re finished. Along the width of your baseboard, keep driving the nails around two feet apart.
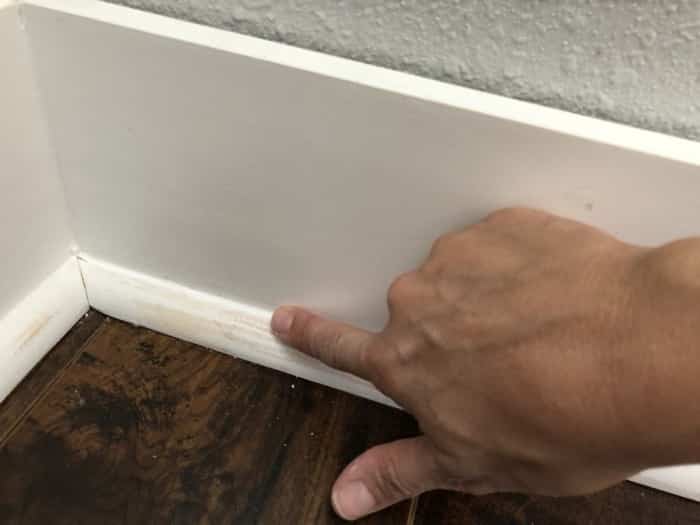
Step 5: Apply the sealant
To cover the space between the wall and the baseboard, utilize a basic outdoor or indoor sealant cylinder.
Don’t worry if it comes out a little sloppy. Your finger would be the best means of achieving a smooth, flawless seal.
After you’ve adhered to the sealant, go over it with your finger to flatten it. Also, use a paper towel to wipe away any leftovers.
Step 6: Hide the nail heads
The nail heads should be barely visible if you did a fine job with the nail set. A drop of sealant over their tops will make them much more unnoticeable. It’s fine if it’s a little messy.
Once the sealant has dried, you can sand it down later.
If you choose white baseboards and sealers, the procedure will be much smoother since everything will fit nicely. If they’re not the same color, you’ll need to paint them all to suit each other in the end.
You can access this video for a visual explanation.
Frequently Asked Questions
Users have shown their concerns about installing the quarter round without a nail. Here are their frequently asked questions. We hope that you can also benefit from the answers.
Is a nail gun essential to attach a quarter round?
Many carpenters employ a compressor and a nail gun to replace quarter-round.
Most homeowners, on the other hand, only need regular hand supplies to apply quarter-round baseboard molding.
Before attaching the quarter-round to your baseboard, make sure you make the angle edges and dry them.
Read more: How To Install Baseboard Molding Without A Nail Gun?
When installing quarter-round, what nails should I use?
You should attach the quarter round with some finished nails. They have smaller heads than regular nails, making your finish trim easier.
It’s best to use a nail gun with 2-inch finish nails. You may also drive your finished nails with a hammer.
How far apart should I put the nails in the quarter round?
The finish nails must be long enough to enter the thickness of the quarter round and the drywall. The gap should be about 1/2 inch into the bottom of the wall.
Then, for a 3/4-inch round, position the nails about 18 inches apart.
Conclusion
We have shared with step-by-step instructions on how to install a quarter round without a nail gun.
The hack saw and hammer can replace the need for the gun. However, you may not achieve the best result the first time.
Even experts still have some flaws, especially in steps 3 and 4. Take your time, and everything will get better.
Hopefully, you will find this article helpful. If you need any further information, please feel free to ask. Thank you for reading!


